Sunday, November 18, 2012

Happy Thanksgiving!


Is it just me or is anyone else having a hard time believing that Thanksgiving is this week?  The last few months have FLOWN by!  So, if you are a procrastinator (as I am!), this cute and easy terra cotta turkey is the perfect (and quick!) craft for you!

Materials:
Ideally  1 - 3/4" clay pot and 1 1/4" wooden ball knob should be used.  I couldn't find any pots that small, so I used the smallest one I could find and got a ball knob that fit appropriately. My finished project measures 6" high.


Craft foam - small pieces of red and yellow
Acrylic paint - black, white, copper, and burnt sienna
Paintbrushes
Paper plate (for pallette)
toothpicks
glue gun and glue sticks
scissors, pencil and ruler

Paint both the terra cotta pot and the wooden ball knob with 2 coats of burnt sienna paint, allowing the paint to dry between coats.


Using your gluegun, attach the the turkey's head to the body.  Too add the eyes, dip the handle end of your paintbrush into black paint:  touch the handle to the turkey's face to create each eye.  Using the toothpicks, paint  an eyebrow above each eye with black paint.  Using one end of a clean toothpick, paint a highlight dot in each eye with white paint.


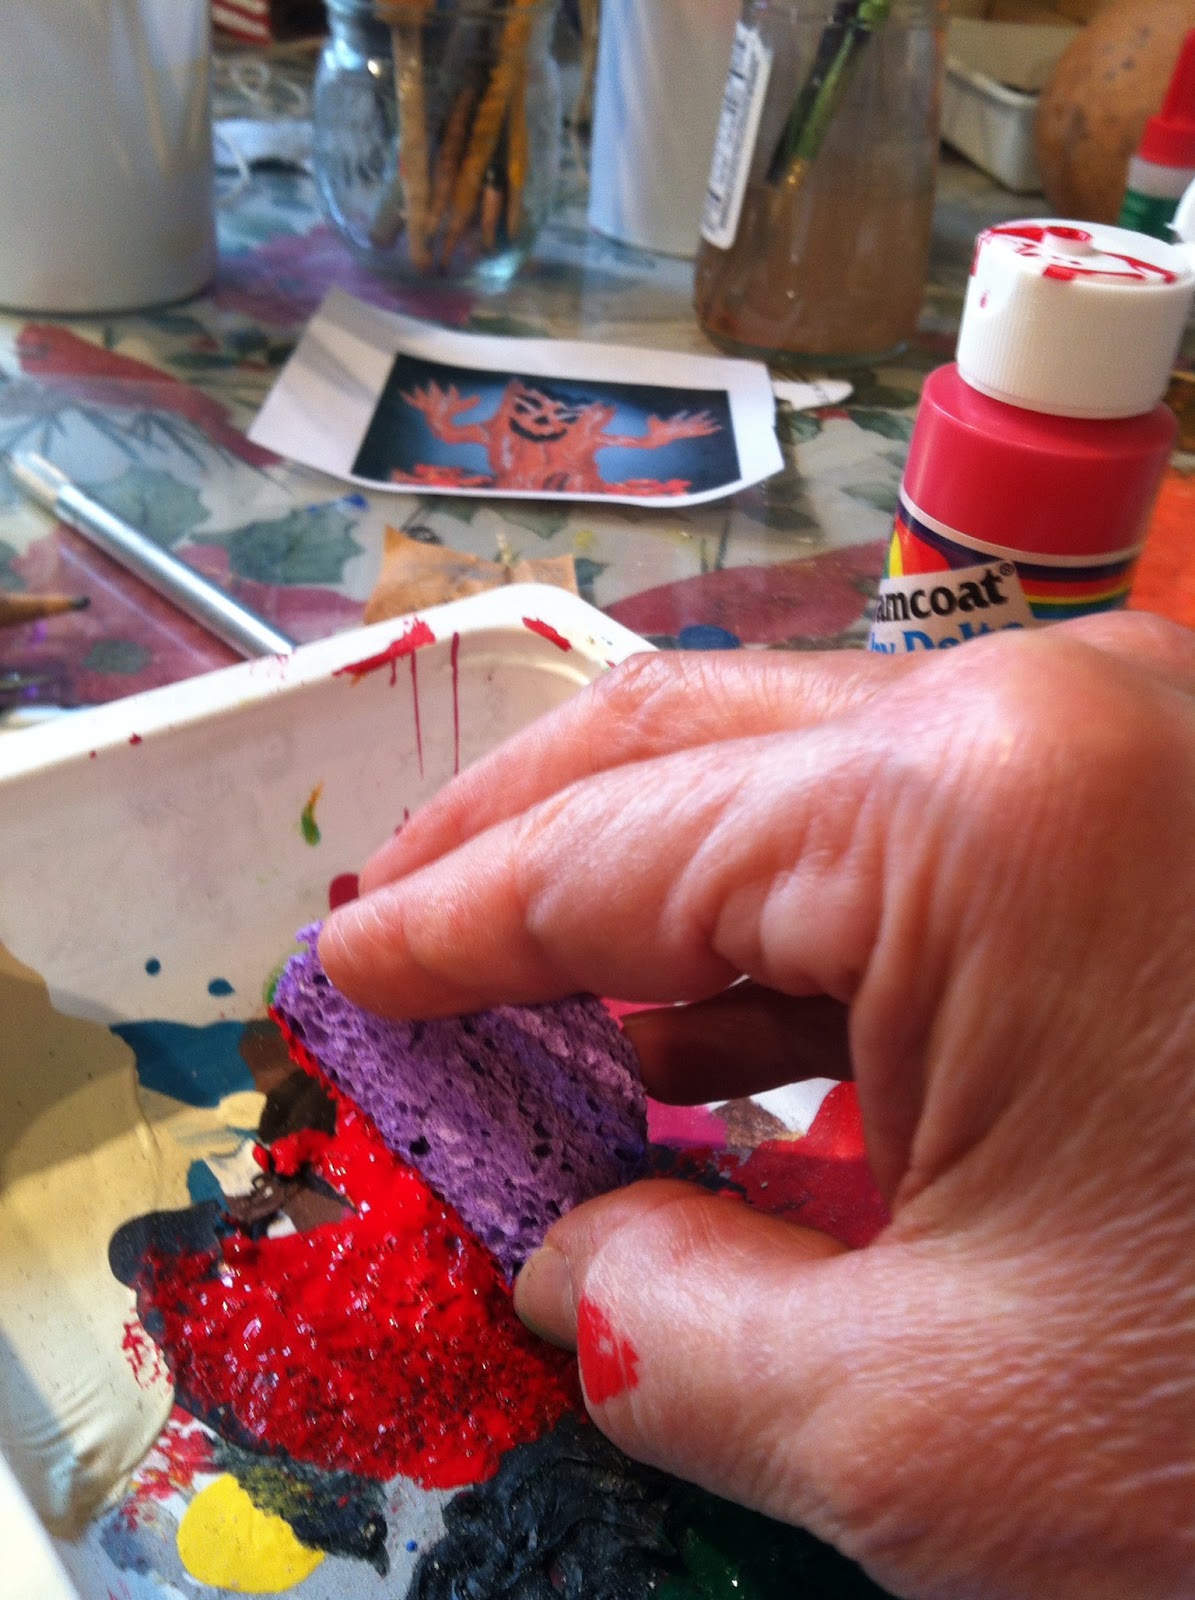
On a paper plate, apply a small puddle of copper paint.  Stroke your paintbrush through the copper paint, then stroke it on an unused portion of the plate until very little paint remains on the brush. Then gently stroke the brush over the turkey to give the resemblance of feathers.  Though the copper paint doesn't show up well in the pictures, it does add a nice dimention to the turkey.

Cut a beak from the yellow craft foam and a waddle from the red foam.  Glue the beak just below the eyes and the waddle under the beak. 


Glue three artificial autumn leaves to the back of the turkey, fanned out like a turkey tail.  Tie some raffia around the turkey's middle for additional embellishment if you desire.  There you have it! These make very cute placecards for your Thanksgiving table!

Sunday, August 26, 2012

Time for Scarecrows!


Did you feel that little hint of coolness in the air???  It's gotta be a sign of things to come, because according to the calendar, fall is on the way! I decorate for every season and I'm already looking forward to hauling out all of my fall stuff!!  So.... I thought I'd get a bit of a jump on my fall decorating with this cute softball scarecrow! 

I raided my husband's (I promised mention of his contribution in trade for the ball!)  baseball duffle bag hunting for a softball suitable for making my scarecrow, and luckily this one fit the bill!  A new softball would be preferable, but I was anxious to get started!

Needed supplies:
A softball, a piece of 8 1/2" by 11" cardboard, ruler, scissors, hot glue, tacky glue, 1/8th yard of fall print fabric, acrylic paint (antique white, green, black, and rose), paint brush, a permanent black magic marker, clear spray finish (I used Krylon), 2 large teardrop shaped "woodsies,"  a 6" straw hat, a cotton swab or sponge pouncer, a flat black button, raffia,a small sunflower, a needle and some embrodiery thread.

To begin we'll make the base for the softball "head" to sit on.  This will hold the softball in place and make it easier to paint.  cut a 1 x 11" piece of cardboard and a 2 1/2" by 12" piece of fabric.  Center the cardboard onto the fabric and apply glue all around the edge of the fabric.  Then fold it in to cover the cardboard. 


After this dries, fold the strip end to end, overlapping about an inch, and hot glue these ends together forming a ring.
Place the softball on the ring so that the stitching resembles a big grin, and you're ready to paint the face.

You can see by looking at my scarecrow that the eyes are not identical.  I drew them free hand.  It's not important that they be perfect.  Just make sure that each eye has 3 distinct sections.The largest section will be painted antique white, the next section green (I had to use three coats for complete coverage), the smallest section will be black.  Once the eyese have completely dried, outline them with a permanent black magic marker, and add eyebrows.  To highlight the eyes, dip a small round brush into white paint and make a small "comma" in the black of each eye.


To paint the cheeks dip a Q-tip swab in water and then into the rose paint.  Then make circular motions with the swab to form the cheeks.  If they don't show up enough let the paint dry and then repeat the process.  Once the cheeks have dried dip the round tip brush into the black paint to make the freckles.  Spray the face with 2 coats of clear acrylic paint.  Once it has dried glue on the black button nose.


Crows:  If you are unable to find the teardrop "Woodsies" create your own with heavy cardboard.  Paint them as you see in the pictures below.  They are very simple.


Now.....let's put this all together.  Put tacky glue around the top of the ring you made in Step 1.  Add the softball head on top.  Let it dry thoroughly.

For the hair take a handful of raffia approximately 8-9" long and tie it in the center with a piece of string or embroidery floss.  Glue the tied area to the top of the scarecrow's head.  Spread the raffia around the entire head.  Use the tacky glue on the side and back of the head to hold the "hair" down.  You can use a rubberband if necessary to hold the hair in place while it dries.  Trim the hair to the length you want.

Hat:  Use a 6" straw hat.  Bend the brim of the hat back and secure it with embroidery floss.  I used double thread and put three or four stitches to hold it in place.  Glue fall leaves or sunflowers on the brim along with the crows.  I used a hot glue gun to glue the hat onto the scarecrow's head, holding it in place until the glue set.


Using a 2" x 11" piece of fabric, tie a nice "bowtie" and glue it onto the front of the ring that you made in Step 1.  Volia'! There you have it!  For a pair of cute scarecrows, make an additional little guy using a baseball!  As always...if you have any questions....give me a shout!  Happy crafting!

Friday, August 10, 2012

Summer's Last Hoorah!

Am I the only one who's having trouble believing that summer is rapidly drawing to an end???  It's already the middle of August for goodness sake!  So before we turn our minds to cooler temps (ahhhh!), changing leaves, and jack-o-lanterns, I thought it would be appropriate for one last summer "hoorah!"  This watermelon pot seemed to be a perfect send off for everything summer!

You will need the following supplies:
clay flower pot (whatever size you choose)
red, dark green, & black acrylic paints               paint brushes
spray primer                                                         scissors
lemon lime or bright green spray paint               clear acrylic sealer
kitchen type sponge       

1) Spray the flower pot with primer.  I used what I had, which happened to be grey.  Using primer is not vital, however all paints will go on much smoother and will cover better (in my opinon) if you use the primer first.  Allow the primer to dry completely before proceeding.


2) Paint the outside of the pot with a bright lime-green paint.  I used Rustoleum spray paint - Painter's Touch, in key lime.  But the pot could easily be painted with a lime green acrylic.  Again, allow the paint (whichever you use) to dry completely before going on to the next step.


3)  Using a plain old kitchen sponge I cut out two shapes.  First -  a square that will be used to paint the "stripes" on the pot.  Secondly, after measuring the height of the pot's rim, I used a compass to draw a half circle onto a piece of cardboard.  Using the cardboard pattern I cut a half circle from my sponge.
This will be used to create the watermelon "slices" around the rim of the pot.


4)  When painting both the green stripe and the watermelon slices I dipped my sponges into a pool of paint that I had squirted into my paint pan.  Then dab the sponge on paper towels to remove the excess paint.  Gently press the half circle onto the rim of the pot.  Repeat this action as you work your way around the rim.  After allowing the "slices" to dry, the stripes are added in the same way.  There were no exact measurements in my spacing.  I just sorta eyeballed it, and it worked out fine.  If you are on of "those" people that NEED to measure, then by all means....MEASURE!

5)  After the stripes have dried  you're ready to add the seeds.  Using black paint I put 3 seeds on each "slice."  You want your seed to be round on one end and work it's way into a point on the other.  When your seeds have dried, go back and add a white "comma" at the rounded end of each seed.


6)  After the pot is completely dry, spray it with  a coat (or 2) of clear acrylic sealer.

That's pretty much it!  Geraniums look great in these pots. They're wonderful for gift giving too!  Put some raffia in the pot and add a jar of summer's homemade pickles or preserves. The ideas limitless!  Celebrate the last days of summer! But'cha better hurry....'cause they're going fast!!!!!


Thursday, July 26, 2012

I LOVE GOURDS!

About 6 or 7 years ago after a successful season at my church's pumpkin patch, there were an abundance of left over gourds.  Bill, our youth minister at the time, suggested that because I was "somewhat crafty," (still not entirely sure what he meant by that!), I should bring them  home and find some use for them.  Little did I know at the time, that bringing home those gourds would begin a love affair for me!  For as I confessed in the title of this posting... I LOVE GOURDS!

A gourd is defined as "a hard shelled fruit of any of various plants, whose dried shell is used for bowls and other utensils, or ornamentally.  The gourds I "adopted" were green swan gourds.
I brought them home and begin to think about what in the world I could do with them.  Pretty soon the gourds began to turn brown and moldy. Many people think that this means the gourds are beginning to rot and throw them away at that point.  DON'T MAKE THAT MISTAKE!!!!  This is just part of the drying out process that in the end makes the gourd a beautiful, one of a kind medium!


Once this drying process is complete the real fun begins!  Cleaning the gourd (inside and out) takes a bit of patience and elbow grease, but the end result is worth the effort!  After many different attemps at cleaning the outside of a gourd, I'd like to share my "wisdom" (ha!) on the subject.  A combination of helpful hints gleened from many sources seems to be the most effective for me.  Follow these steps and your gourd will be clean as a whistle in no time, and ready to be "decorated" any way you see fit! I'll discuss cleaning the inside of a gourd in a later post.

First, your gourd must be soaked for a couple of hours.  This helps to loosen the icky outer layer.  I soak my gourds in my kitchen sink (much to my husband's chagrin!).  Fill the sink about 1/2 full with water.  Add about an 1/8th cup of bleach.  This helps to kill the mold and is extremely helpful if you suffer from allergies, as I do!  As soon as you add the gourd to the water you'll see that  yes, the gourd floats!  I have found that the best way to deal with the buoyancy issue  is to take an old hand towel, soak up some of your bleach water, and drape the towel over the gourd.  This not only helps hold the gourd down in the water, it also keeps the exposed side of the gourd wet.  Now....find something else to do for a couple of hours....and don't worry about soaking the gourd for too long.

 
Wow!  Did those hours fly by or what??? Now you're ready to scrub!  I have found that my best friend for scrubbing gourds is one of those metal scouring pads (not Brillo, the kind you'll see in the following picture - and NO my hands are REALLY not that big!!!) and a little bit of elbow grease.  This will pretty much remove all of the "gunk" from the gourd, but if it doesn't, soak it a little bit longer, and try again.  Occasionally I find it necessary to do a little scraping.  I have an old paring knife that I like to use, you may find that you prefer some other utensil.


Once you are satisfied with the cleaness of your gourd, rinse it thoroughly and set it aside to dry.  I don't recommend putting them out in the sun to dry or drying them in the oven.  Rapid drying can cause your gourd to crack.  Just set them aside, and usually withink 24 hours they are completely dry.


Now that your gourd is clean and dry, the sky's the limit! Gourds can be decorated in countless ways.  Holes can be drilled to make gourd birdhouses.  Dyes, paints and stains all make interesting affects on gourds.  I also enjoy using woodburning (pyrography) tools to enhance the designs of my gourds.   Experiment!  Gourds are an incredible medium to work with!  But I offer you this warning....they are addictive! 


Sunday, July 15, 2012

Christmas in July!

Welcome to my blog! I'm new at this so bear with me as I become acclimated to life in this century!!

Like it or not, the year is more than half over! Before you know it school will be in session again and then it's just a hop, skip, and jump until that magical time of year!  I keep hearing the phrase "Christmas in July" so I thought a craft with that in mind might be a good way to begin my blog!    

Even if you've never crafted before, this cute little snowman pin is a quick and easy project that will give you a chance to whet your creative appetite!  I tore it out of a magazine and stuck it in a file YEARS before the dawn of Pinterest!  It was first created by a lady named, Paula Bales.  Unfortunately....I have no way of knowing what craft magazine I found it in.  Let's get crafting!

Supplies:
white fun foam                                                   thin paintbrush
think line black sharpie marker                            black acrylic paint
white acrylic paint                                              red or black acrylic paint
orange acrylic paint                                            scissors or pinking shears
scrap of material                                                small stencil brush -foam works great!
glue

Trace the pattern onto the fun foam.  The side that the pencil marks are on will be the BACK of your pin. (I tried uploading a .pdf file of the pattern to no avail!, but I can email one to you if you don't feel like trying to make one on your own).


Cut out the snowman.  When working with fun foam it's best to make as much of a continuous cut as possible.  Don't worry about being 100% accurate with your cuts.  Once you flip the snowman over, the pencil marks will be out of sight!

With a thin sharpie marker, mark around the edge of your snowman.  I like to mimic a blanket type stitch with my marking.

Now we are ready for his face!  I keep this very simple, but be as elaborate as you like!  Using my thin paintbrush I dip it into the the black paint.  Get enough paint on the brush for a thick dot for each eye.  Wash your brush with a little soap and water and dry it with a paper towel.   For his cheeks I use the smallest stencil brush I can find.  Dip the brush into your red/pink paint.  On a paper towel, or scrap sheet of paper, pounce the brush up and down several times.  There should be very little paint on the brush when you add the cheeks.  Now, just as you did on the paper towel, pounce the brush onto the fun foam to create the snowman's cheeks.  

Next dip the brush into the orange paint and make a small triangular nose. 

Using the sharpie give him some eyebrows and as a final touch put 1 small dot of white in each eye. 

Cut a 1" x 7" piece of cloth from your fabric scrap.  If possible, fray the ends or make scissor snips at both ends of the strip to mimic fringe.  Tie this around your snowman's neck.  A dot of glue wil help hold the scarf in place.

Glue a pin back onto the back of your creation and VOILA'! 

You've got a cute little snowman pin.  He measures about 2 1/2" tall.  This would be a great gift for teachers, or a thoughtful gift for just about anyone, just to let them know you're thinking of them!

I hope this project works well for you!  If you have any questions, leave me a message! I also welcome any comments you might have!  Check my blog again soon!  The crafting continues!